Hey there! I am back already with another card to share with you. I was so happy to be able to play along with another Stamping Bella Challenge.
When I first saw the challenge I was intrigued...
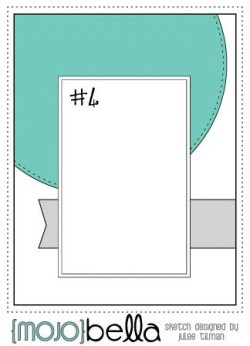
1 - stamp, 2 - papers, 3 - embellishments.
I thought that this would be a challenge that would be just that a challenge, but with some thought I was able to come up with many different ideas for this.
Yesterday my Grandma turned 95 years old and I know that many people aren't able to say that, so I feel incredibly blessed that I am able to say this. I wanted to make a card that was something special, and it was going to be a card that the whole family signed so it needed to be large. I decided that this card would be used for this challenge.
I sat down and had a blast making this card and playing along with the challenge, and top it all off my Grandma was absolutely thrilled with the card, and LOVED it.
Look how cute she is.....
(I know the picture quality isn't great unfortunately)

Look how cute she is.....
(I know the picture quality isn't great unfortunately)

There is something so special about getting a handmade card, and something even more incredible about being the one to create and give that card to someone so special and make their day that much better. I love what I do and am so greatful to Stamping Bella for inspiring this card with their incredible stamp.
Here's a close up of the coloured image on the card:


Here's a side view of the card:


Here's a front view of the card:


Supplies Used
Paper Trimmer - used to cut out the image and pattern paper and card base.
Tim Holtz Scissors - used to cut the 2 sided tape and vellum
Stamp Press- used to attach cling stamp to in order to stamp image
Stamping Bella Stamp - Flower for a True Friend - image used as the focal point of the card
MFT Black Licorice Hybrid Ink - used to stamp the image in this ink
Zig Clean Colour "48" Real Brush - used to colour the image
Wink of Stella Clear Brush - used to add glitter to the flower petals.
Doodlebug Sprinkles - used to add some embellishment to the card.
Water Brush - used to move the colour around
2 sided tape - used to attach the layers together.
Black Letters and numbers - these are very old - couldnt find identical ones, so linking to something similar.
Pattern Paper - Recollection Bold Basics
Watercolour Cardstock - used to watercolour the main image on
Vellum - used to place the black numbers on over the stem of the flowers...giving the card a whimsical feel